Disclosure: Some links on this page are affiliate links. If you buy through them, we may earn a small commission at no extra cost to you. See our affiliate disclosure for details.
New hiking boots have a particular kind of honesty. They look sharp in the shop, feel fine for the first ten minutes on a flat pavement, and then start telling you exactly where they disagree with your feet. A stiff heel cup. A crease across the toes. One spot on the outside of the ankle that was invisible until mile three.
Learning how to break in hiking boots is less about punishing yourself on a long climb and more about gradual wear, the right socks, and catching hot spots early. Skip the process and you often earn blisters on the first real trip. Do it properly and the same boots settle into something that feels like an extension of your feet.
Table of contents
Why new boots feel stiff
Hiking boots are built to protect you. Leather and synthetic uppers start firm so they can support ankles on uneven ground. Midsoles resist twisting. Toe boxes hold their shape. That structure is useful on a rocky descent, but it also means the boot has not yet moulded to the way you walk.
Most break-in friction happens in a few places: the heel (where the boot rubs before the cup softens), across the top of the foot (where flex creases form), and around bony bits on the sides of the ankle. Soft fabric trail runners need almost no break-in. Stiffer leather walkers and backpacking boots need more time, sometimes a few weeks of short walks rather than one heroic day.
My opinion: if a boot still feels like a hard shell after a couple of weeks of sensible wear, the fit may simply be wrong. Breaking in softens and shapes; it does not shrink a boot that is a size too big or stretch a narrow last into a wide foot.
The gradual walk method
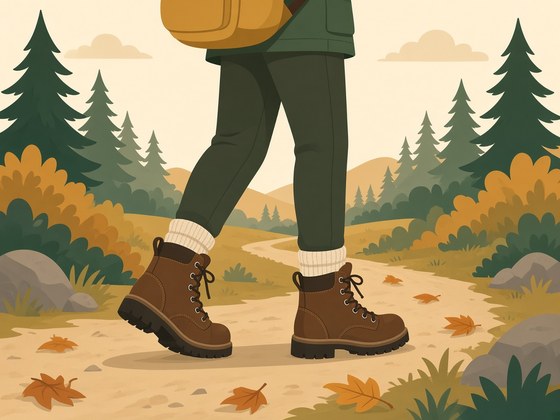
Start short and stay on forgiving ground. Twenty to thirty minutes around the neighbourhood, a park loop, or a gentle canal path is enough for the first few sessions. Wear the socks you plan to hike in. Lace the boots the way you will on the trail, not as loosely as slippers.
Add time and uneven ground in small steps. Once an hour feels easy, try a longer walk with a light pack. Then a short hill. Save the muddy scramble and the full weekend load until the boots no longer dig into the same spots every time you put them on.
Between walks, leave the boots somewhere dry with the tongue pulled forward so air can reach the lining. Do not bake them on a radiator. Heat dries leather too fast and can crack it.
Socks, lacing and hot spots
The wrong sock can make a good boot feel terrible. Thick cotton holds sweat and bunches. A thin dress sock slips and lets the heel bounce. Pair your new boots with the hiking socks you actually intend to wear, ideally a merino or synthetic hiking sock with a snug heel. Our roundup of the best hiking socks covers fibre, cushioning and fit if you are still choosing a pair.
Lacing matters more than people think. Lock the heel by snugging the laces through the ankle hooks without crushing the top of the foot. If your toes slam the front on descents, loosen the lower eyelets a touch and keep the upper section firm. Small tweaks here often remove the rub that people blame on “needing more break-in.”
At the first hint of a hot spot, stop. Cover it with a bit of tape or a blister plaster before the skin breaks. Waiting until you see a blister is the expensive lesson. The same early care shows up in our tip on how to prevent blisters when hiking, because boots and skin problems travel together.
Optional helpers and what to skip
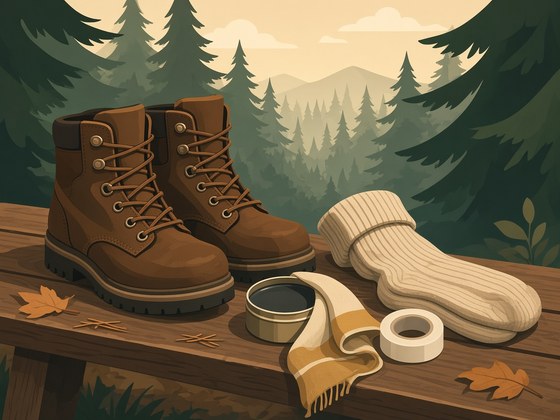
A little boot wax or conditioner on leather can soften the upper and keep it from drying out, especially after wet walks. Use a product meant for outdoor footwear and wipe off the excess so grit does not stick. Fabric and mostly synthetic boots usually need less of this and may only want a clean and a suitable waterproofing spray.
Some people use a boot stretcher or take the pair to a cobbler for a targeted stretch on a tight spot. That can help a local pressure point. What does not help is soaking boots in water and walking them dry, or baking them in an oven. Those old tricks shorten the life of the materials and can warp the shape you paid for.
If you are packing for longer days while the boots are still settling, keep weight sensible and use poles on steeper ground. A well packed load from our guide to how to pack a hiking backpack, plus solid technique from how to use trekking poles, takes stress off your feet while the uppers finish softening.
How long does break-in take?
There is no single number. Soft fabric hikers may feel fine after a couple of short walks. Midweight leather boots often need one to three weeks of regular wear. Stiff backpacking boots can take longer, especially if you only walk at weekends.
You will know they are ready when you can do a couple of hours with a light pack and finish without a named sore spot. Mild tiredness in the feet is normal. Sharp rub in the same place every time is not.
Worth a look if you want a small kit for the process: a pair of dedicated merino hiking socks on Amazon, a tin of hiking boot wax conditioner on Amazon, and a pack of hydrocolloid blister plasters on Amazon for early hot spots.
Break-in mistakes to avoid
Do not plan your first big trip as the break-in day. That is how people end a beautiful ridge walk hobbling back to the car. Do not switch sock thickness halfway through the process without checking fit again. Do not ignore a hot spot because “it will bed in.” And do not keep forcing a boot that still fights your foot after honest, gradual wear; return or exchange it while you still can.
Break boots in the way you will use them: same socks, sensible lacing, short walks that grow longer. When the stiffness fades and the hot spots stop appearing, lace up and go further. Your feet will notice the difference long before the boots look worn.