Disclosure: Some links on this page are affiliate links. If you buy through them, we may earn a small commission at no extra cost to you. See our affiliate disclosure for details.
There is a particular sound a new pair of poles makes on a stony path. Clack, scrape, clack, usually from someone holding them like ski sticks, arms locked, poles swinging out in front and landing nowhere useful. Ten minutes later they are tucked under one arm.
That is a shame, because how to use trekking poles well comes down to a handful of small habits: set the length so your elbow sits near a right angle, put your hands up through the straps from below, plant each pole roughly level with the opposite foot, then shorten them for climbs and lengthen them for descents. Get those right and the poles start doing real work.
Table of contents
Set the length before you leave the car
Stand on flat ground in the boots you will walk in, hold a pole by the grip with the tip by your toes, and adjust until your forearm is roughly parallel with the ground. That right angle at the elbow is the starting point, not a law.
Most adjustable poles have printed markings on the lower section. Note the number that suits you so you can reset quickly after packing them away.
Check the lever locks while you are at it. A pole that slowly collapses under load is worse than no pole. Most lever locks have a small tension screw; tighten it a quarter turn at a time until the clamp closes firmly without needing a thumb like a vice.
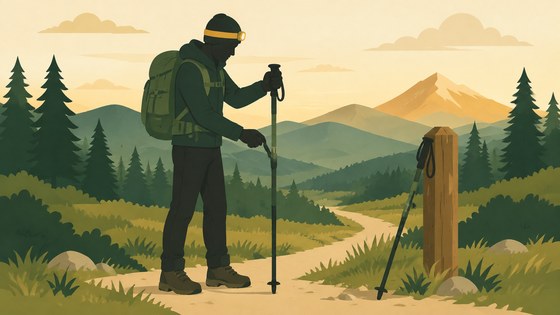
If you have not picked a pair yet, our roundup of the best trekking poles covers locks, grips and the folding versus telescoping question.
Wrist straps: the bit almost everyone gets wrong
The strap is not a leash. Used properly, it carries much of the push, so you are not gripping the handle hard all day.
- Put your hand up through the loop from underneath.
- Bring your hand down so the strap runs across the back of your wrist and sits between your thumb and palm.
- Hold the grip lightly. You should be able to relax your fingers and still push down through the strap.
Adjust the strap so it is snug but not tight, and redo it when you change gloves.
One exception, and it matters: take your hands out of the straps for stream crossings, scrambles and anywhere a pole could jam between rocks. If a tip gets trapped while your wrist is locked in, the pole can wrench your shoulder or pull you off balance.
How to use trekking poles on flat ground
On easy paths, let the poles swing naturally with your stride, the way your arms would anyway. Left pole goes forward with the right foot, right pole with the left foot.
The tip should land roughly level with your opposite foot or slightly behind it, angled back a little. Planting the pole far out in front looks purposeful but just acts as a brake.
My opinion: on a flat, well made path you can stash the poles and enjoy having your hands free. They earn their place on gradient, mud and loose ground, not on a gravel canal towpath.
Going uphill
Shorten both poles by around 5 to 10 centimetres for a sustained climb. Shorter poles let you plant them close to your feet and push down and back, which is where the help comes from. Long poles on a climb force your hands up to shoulder height and tire you quickly.
On very steep steps, some hikers plant both poles together and step up between them.
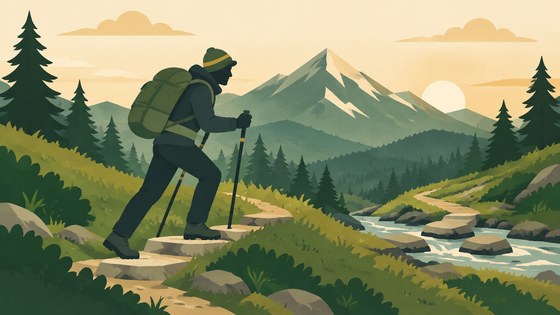
If you are carrying a heavy load on a multi-day route, poles help even more on climbs, but a badly packed bag will undo the benefit. Our guide on how to pack a hiking backpack covers keeping the weight close to your back so you are not fighting the pack as well as the hill.
Coming downhill, where poles earn their keep
Descents are where knees take the most punishment, and where poles make the clearest difference. Lengthen them by roughly 5 to 10 centimetres so you can plant them slightly ahead without stooping.
Plant the pole first, then step down to it. On steep ground, keep your weight over your feet rather than leaning back on the poles, because leaning back is how feet slide out from under you.
On a long traverse across a slope, one trick is to shorten the uphill pole and lengthen the downhill one. Poles with a foam extension below the main grip let you simply hold lower on the uphill side instead of stopping to adjust.
Mud, rock and the odd stream crossing
Carbide tips bite into dirt and wet grass. On bare rock, tarmac and paving they skid and clatter, which is where rubber tip covers help. A set of rubber tip protectors on Amazon is cheap and also keeps the tips from stabbing through a car boot liner.
For soft mud, bog and snow, wider baskets stop the pole sinking up to the lower section. Many poles come with small trekking baskets only; mud and snow baskets on Amazon are worth checking against your pole’s tip fitting before buying.
At a stream, probe the depth and footing with a pole before you commit your weight, straps off as above. If you are stopping anyway to refill, it is a good moment to use your hiking water filter while your hands are free.
For scrambles where you need hands on rock, collapse the poles and strap them to the side of your pack.
After the walk
Wet poles left collapsed in a boot for a week are how locks seize. Pull the sections apart when you get home, wipe off mud and grit, and let them dry fully before packing them away. Skip oil inside the shafts, which attracts grit.
Autumn walks run late more often than planned, and poles plus a decent headlamp make a dark, muddy final mile far less fraught. If you camp, some shelters even pitch with trekking poles, which pairs well with our tips on pitching a tent in the rain.
Give them three or four proper walks before deciding. The awkward clacking phase passes faster than you think, and the first steep descent with poles set right tends to win people over.