Disclosure: Some links on this page are affiliate links. If you buy through them, we may earn a small commission at no extra cost to you. See our affiliate disclosure for details.
Two miles in, the pack starts pulling backwards on every step. Something hard is digging into your spine, the rain jacket is buried under the sleeping bag, and the snacks you wanted an hour ago are at the very bottom. Nothing is broken. It was just packed in the order things came out of the cupboard.
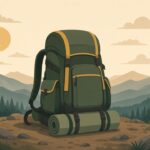
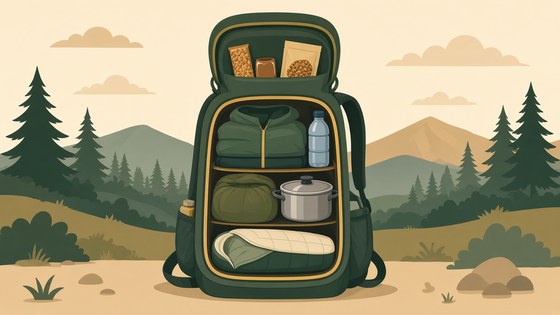
Here is the short answer on how to pack a hiking backpack: soft, bulky sleep kit at the bottom, the heaviest and densest items in the middle and close to your back, things you need during the day at the top and in the pockets. Then tighten the straps so the load hugs you instead of swinging. The rest is detail that makes the miles feel shorter.
Table of contents
How to pack a hiking backpack from the bottom up
The bottom of the pack is for bulky, light things you will not touch until camp. On an overnight trip that usually means your sleeping bag, perhaps a sleep top and spare socks. A bag from our guide to the best sleeping bags for camping will compress down a fair bit, but do not crush it so hard it turns into a brick. A slightly soft bundle fills the corners and gives the rest of the load a base to sit on.
On a day hike, use the same space for a warm layer and a small first aid kit. It is still kit you hope not to need in a hurry.
Some walkers stuff the bag in loose with no sack. I like that for filling gaps, but only inside a waterproof liner.
Heavy items in the middle, close to your back
This is the bit that changes how the pack feels. Dense, heavy kit belongs in the middle of the pack, tight against the back panel, roughly between your shoulder blades. Food bag, water reservoir, stove and fuel, cook pot. Weight that sits close to your spine moves with you. Weight that sits out at the front of the pack levers you backwards with every step and makes rocky ground feel wobbly.
If you carry a stove from our camping stoves roundup, nest the gas canister inside the pot to save space and stop it rattling. Wrap the pot in a buff or a spare top so it does not clank.
Then fill the gaps around the heavy core with softer things: a fleece, a tent body, a pad that rolls tight. You want a packed shape with no loose voids, because voids let the load shift.
Top, lid and pockets for the day
The top of the main compartment is for what you might want at a stop: the rain jacket, a warm layer, lunch, and the tent fly if you expect to pitch in wet weather. Our tip on how to pitch a tent in the rain explains why the fly should come out first and fast.
Use the lid and hip belt pockets for small things you reach for while walking:
- Hip belt: snacks, phone, lip balm, a small map or compass.
- Lid: headlamp, hat and gloves, sun cream, a knife, toilet kit.
- Side pockets: a water bottle or a filter bottle, tent poles strapped upright.
- Front stretch pocket: a damp layer, sit mat or anything wet you do not want inside.
Keep the headlamp in the lid every single time, even on a day walk. Late finishes happen. If you need one, our headlamps for camping and hiking guide has light, simple options.
Water deserves its own thought. A reservoir in the sleeve keeps the weight central, while bottles in side pockets are easier to refill and check. If you plan to refill from streams, keep the filter near the top or in a side pocket; our roundup of the best water filters for hiking covers squeeze and bottle types that sit neatly there.
Keep it dry from the inside
Most rucksacks are not waterproof. The fabric may shed a shower, but the seams and zips will not stop a long day of rain, and water pooling in the bottom is how sleeping bags get soaked.
A waterproof liner inside the pack is the fix I would put first. A waterproof backpack liner or a heavy-duty bin bag goes in before anything else, then everything is packed inside it and the top rolled shut. A backpack rain cover helps keep the fabric itself from getting heavy and sodden, but on its own it lets water run down your back panel and in. Opinion: liner first, cover second.
Small lightweight dry bags in a few colours do two jobs. They keep spare clothes and electronics dry, and they make kit easy to find. Red for first aid, blue for clothes, whatever sticks in your head.
Adjust the straps before you walk
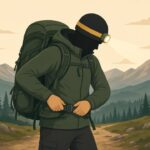
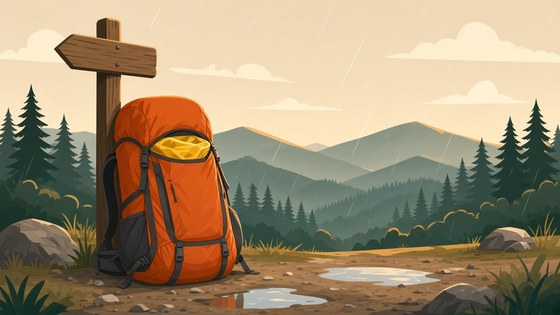
A well packed bag can still ride badly if the straps are wrong. Loosen everything, put the pack on, then tighten in this order:
- Hip belt first, sitting on top of your hip bones so most of the weight rests on your hips, not your shoulders.
- Shoulder straps snug, but not crushing.
- Load lifters (the small straps from the top of the shoulder straps to the pack) pulled gently to bring the load in towards you.
- Sternum strap clipped loosely across the chest.
- Compression straps on the sides tightened last to stop anything shifting.
Walk a few steps and bounce slightly. If anything clanks or slides, open the bag and fix it now. Easier in a car park than on a ridge.
Common packing mistakes
- Hanging kit off the outside. Mugs, sandals and sleeping mats swinging from straps snag on branches and throw off balance. Pack them in if you can.
- Heavy food at the very top. It feels convenient but makes the pack top-heavy and tippy on uneven ground.
- No layer within reach. If you have to unpack half the bag to find a jacket, you will skip putting it on and get cold. Our tip on how to stay warm camping starts from the same idea: stop the chill before it starts.
- Packing for every possible scenario. A spare of everything adds up fast. Lay your kit on the floor first and remove what you did not use last time.
For overnight trips that start from the car, our car camping checklist is a decent cross-check for the basics before you decide what actually goes on your back.
Pack it once at home, walk around the block, and repack. Ten minutes in the hallway is worth a lot more than an hour of fiddling at the trailhead while everyone else waits.