Disclosure: Some links on this page are affiliate links. If you buy through them, we may earn a small commission at no extra cost to you. See our affiliate disclosure for details.
Mile four, a long descent, and there it is: a warm, slightly stingy patch on the back of your heel. You tell yourself it will settle down. It will not. By the car park it is a fat, shiny blister and the next morning you are walking like someone who stepped on a plug.
The short answer on how to prevent blisters when hiking is this: keep your feet dry, stop the boot from rubbing, and deal with a hot spot the minute you feel it rather than at the next scenic stop. Blisters come from friction plus moisture plus heat, so anything that cuts one of those three helps. Most of it costs almost nothing.
Table of contents
Why hiking blisters happen
Your skin is fine with pressure. What it hates is the same small spot sliding back and forth thousands of times. Add sweat, which softens skin, and a bit of heat from a long climb, and the top layer starts to separate from the layer underneath. Fluid fills the gap. That is your blister.
The usual culprits are boring: a heel that lifts on every step, a seam in the wrong place, a sock that bunches, or feet that swell on a hot afternoon until the toes start hitting the front of the boot. Wet feet make every one of those worse.
Start with socks and fit
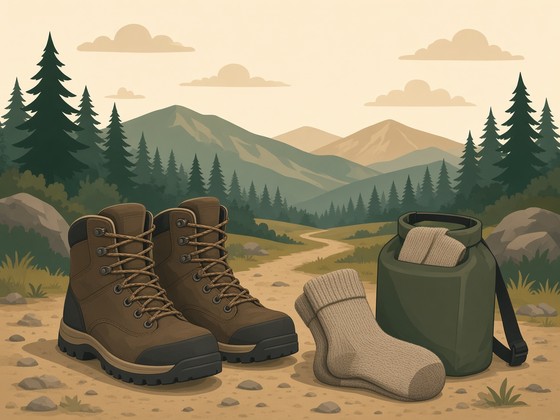
If you only change one thing, change your socks. Cotton holds sweat against your skin and stays soggy for hours. A wool or synthetic hiking sock wicks moisture away and keeps its cushioning when damp. Merino is my favourite (opinion, not gospel) because it copes with a sweaty climb and still does not smell awful on day two. A pack of merino hiking socks on Amazon is a cheap upgrade compared with new boots.
A few fit points that matter more than people think:
- Try boots on in the afternoon, when your feet are at their biggest, and wear the socks you will actually hike in.
- You want a thumb’s width of room in front of your toes so they do not hit the end on descents.
- Your heel should lift very little when you walk up a slope. A little is normal. A lot is a blister factory.
- Break boots in gradually on short walks before a big day, especially stiff leather pairs.
Some hikers swear by thin liner socks under a thicker sock, so the friction happens between the two layers instead of against your skin. It works for plenty of people. Others find it too fiddly. Worth trying if you blister easily.
Lace for a locked heel
Heel lift is the classic cause of blisters on the back of the foot, and a simple lacing trick fixes a lot of it. The heel lock (sometimes called a runner’s loop) uses the top eyelets to pull the ankle back into the heel cup.
Lace normally until the last eyelet, then thread each lace back into the top eyelet on the same side to make a small loop. Cross the laces over and feed each one through the opposite loop, pull down and back, then tie. Your heel should feel held without your toes feeling squeezed.
One more thing: retie on long descents. Snug laces going downhill stop your foot sliding forward. If you use poles, our guide on how to use trekking poles covers how they take some of that downhill load off your feet and knees, too.
Treat hot spots early
A hot spot is the warning before the blister. It feels warm, tender or slightly raw, and it is the single most useful thing your feet will ever tell you. Stop. Take the boot off. It takes three minutes and can save the whole trip.
- Dry the area properly, with a buff or the inside of a dry sock if you have nothing else.
- Cover it with rigid tape or a smooth plaster so the boot rubs the tape instead of you. A roll of zinc oxide sports tape on Amazon is worth keeping in your first aid kit for exactly this.
- Round the corners of the tape so the edges do not peel and roll up.
- Check what caused it. A wrinkle in the sock or a bit of grit is often the whole story.
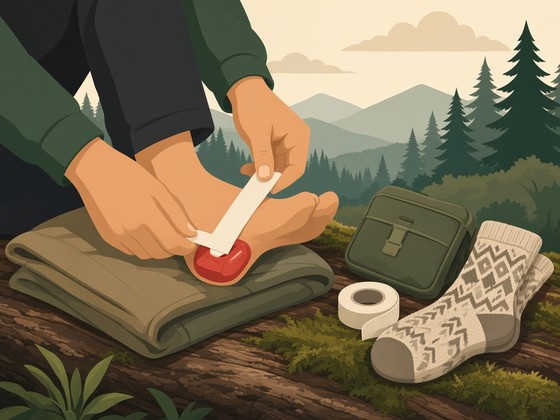
If a blister has already formed, leave it intact if you can. A hydrocolloid blister plaster cushions it and acts like a second skin. These hydrocolloid blister plasters on Amazon are what we would pack. Keep it clean, and if it pops, wash it, leave the roof of skin in place and cover it. Watch for spreading redness, heat or pus, which are signs of infection and worth getting looked at.
Keep your feet dry on the trail
Moisture is the multiplier. A few habits help a lot:
- Change socks at lunch on long days. Clipping the damp pair to the outside of your pack lets them dry while you walk.
- Take your boots off at breaks and let your feet air for ten minutes.
- Keep your spare socks in a small dry bag so a river crossing or a downpour does not soak them too.
- On hot days, a light dusting of foot powder in the morning can cut sweat.
If you are not sure where the spare socks should live, our tips on how to pack a hiking backpack put small essentials in a lid or hip pocket so you actually reach for them. A roll-top from our best dry bags list keeps them properly dry.
What to pack for blister care
You do not need a pharmacy. A small zip bag with these covers most day hikes and weekend trips:
- A roll of rigid or zinc oxide tape
- Three or four hydrocolloid blister plasters
- A spare pair of hiking socks
- A few alcohol wipes and a tiny pair of scissors
It weighs less than a sandwich. Honestly, the scissors are the bit people forget, and trying to tear tape neatly with cold fingers on a windy ridge is its own small misery.
Blisters feel like bad luck, but they are mostly a fit and moisture problem you can fix before you leave the house. Sort the socks, lock the heel, and stop at the first warm spot. Your feet will thank you on mile twelve.